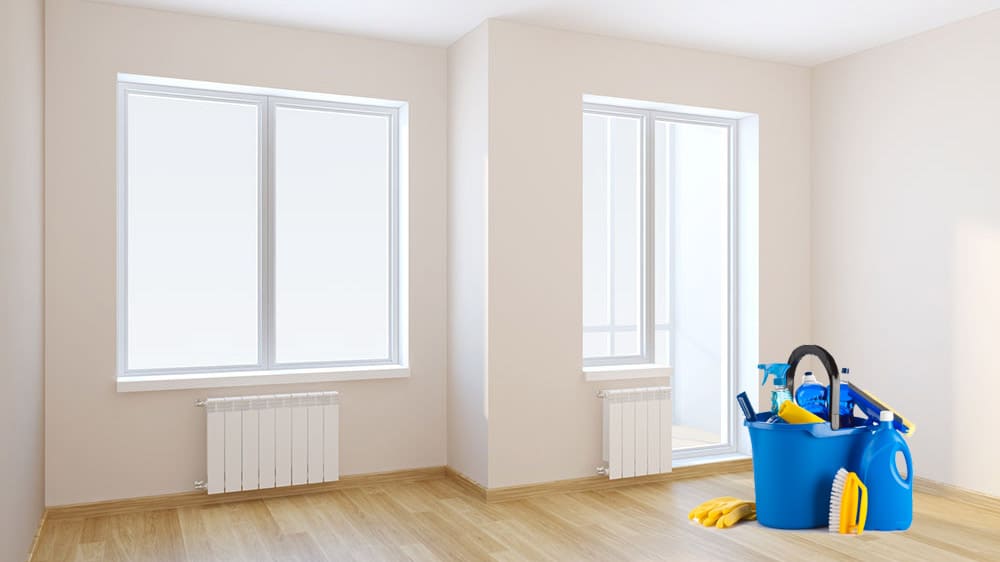
Cleaning up after renovation requires special attention, as there may be debris, construction dust, and leftover materials in the space. To efficiently and quickly restore order, it’s recommended to create a plan of action and follow it step by step.

Preparation for House Cleaning After Renovation
- Planning and Schedule: Divide the tasks over several days to tackle them all. If possible, it’s better to clean for several consecutive days. If time is limited, allocate an hour each evening for cleaning.
- Finding Helpers: Invite friends or family to help you, or seek assistance from professional house cleaning company near you. This will make the cleaning process faster and more efficient. You can handle the basic tasks yourself, such as dusting and cleaning surfaces, but tasks like washing windows, collecting and disposing of trash can be delegated to a helper or a cleaning company. A cleaning service can efficiently clean your home at a reasonable cost. You can entrust cleaners with tasks such as tackling tough stains, laundry, ironing, and many other chores.
- Required Equipment: Ensure you have all the necessary tools and supplies for cleaning. If needed, you can rent or borrow equipment.
- Protective Gear: Don’t forget about protection: use gloves and respirators to avoid exposure to dust and chemicals.
- Storage: Prepare sturdy trash bags and boxes for storing items and tools.
During the House Cleaning After Renovation
Clearing Away Debris
Any type of cleaning, whether it’s general or specific, starts with getting rid of debris. After completing the renovation work, various construction materials, used tools, and other waste may remain. Gather all the leftovers into trash bags and dispose of them in the trash bin. For transporting bulky waste items such as window frames, furniture parts, or concrete blocks, it’s better to call a specialized service that will pick up and dispose of them.
Reselling Unwanted Materials
Some items, such as extra furniture or leftover wallpaper, can be sold for a nominal fee. Place ads on online boards, forums, or local chats. Perhaps someone in your area needs affordable furniture or materials for renovation.
Required Tools and Equipment
When cleaning after renovation, you may need different tools and equipment than those used for weekly cleaning. Before starting, be sure to assess what you’ll need to ensure everything goes quickly and smoothly. You might need:
- Long-handled Brush: for dusting high surfaces like walls and ceilings. Both standard and automated options may work.
- Cloth Wipes and Sponges: for wet cleaning. Specialized scrapers are essential for cleaning windows, helping remove dried cement or tape residue.
- Powerful Vacuum Cleaner: necessary for effective dust and debris removal. If you hire a professional cleaning service, they’ll bring the necessary equipment themselves.
- Cleaning Products: both universal and specialized for different types of stains. They’ll help combat grease, paint, and stubborn stains.
- Ladder or Step Stool: for reaching high places such as windows, ceilings, or top shelves. A mop with a telescopic handle may also be useful for cleaning floors and hard-to-reach areas.
By following these steps and using the right tools, you can efficiently clean your home after renovation, restoring it to its pre-renovation state. Follow the link for professional cleaning in Barrington, North & South Barrington, IL https://hardrockcleaning.com/illinois/house-cleaning-barrington/.
Cleaning Plan for Your Home After Renovation
Let’s discuss how to tackle dust, paint stains, grease, and other messes after a home renovation.
Dust Removal
One of the main challenges after renovation is the abundance of construction dust settling on floors, walls, ceilings, furniture, and other surfaces. This dust is often coarser than usual and can trigger asthma attacks or allergic reactions. Removing it with a wet cloth is difficult – it’s better to use a vacuum with a good filter. Specialized cleaning equipment can help with removing fine debris.
Dust should be removed from top to bottom: start with the ceiling and windows, then move to the walls, furniture, and flooring. Starting from the bottom can cause debris to fall onto already cleaned surfaces.
Also, remember to remove protective coverings from furniture, covers, or film, treating them beforehand to prevent debris from getting on soft upholstery or floors.
Wet Cleaning
After successfully clearing away dust, proceed to wet cleaning surfaces, moving from top to bottom. Stains on decorative finishes should be removed using methods that won’t damage them. For example, it’s not recommended to wipe paper wallpaper with a wet cloth. If stains are stubborn, use a barely damp microfiber cloth and avoid applying excessive pressure while rubbing. Tile surfaces can be wiped with a specialized solution, while primer and paint can be cleaned with acetone-based liquids. Excess solution can be removed with a scraper or spatula.
Don’t forget about small details such as cornices, light fixtures, window sills, and baseboards. You can polish them to a shine with a microfiber cloth, and specialized liquid is required for glass.
Dealing with Tough Stains
If there are stains on surfaces that household chemicals can’t remove, you can use specialized compounds:
- Rust: can be dissolved with a compound containing copper sulfate, citric acid, or a paste based on baking soda.
- Paint: streaks and stains can be removed with acetone or specialized store-bought products.
- Glue and tape residues: can be removed with white spirit.
- Mounting foam: abrasive sponge can be used for removal.
- Grease: before wet cleaning, treat grease stains with alcohol.
Finishing Cleaning Tasks after Home Renovation
For successful completion of home cleaning after renovation:
- Ventilate rooms: Fresh air will ventilate out unpleasant paint and chemical odors. A fan or artificial ventilation can help in small spaces.
- Restore order: Return decor to its place and organize items.
Remember When Cleaning Your Home After Renovation
- Dispose of large debris in special containers or call a service for disposal.
- Mounting foam is easier to remove immediately rather than after it hardens.
- Wet cleaning should be done only after thorough dust removal.
- Sticky tape residues can be removed with solvent or by heating with a hairdryer.
- Robot vacuums may not handle tough tasks well, so it’s better to use specialized equipment for post-renovation cleaning.
- Avoid excessive moisture on wooden surfaces to prevent mold growth and material deformation.
- After cleaning, it’s recommended to ventilate the room to speed up drying and eliminate odors.
- Before using chemicals on different surfaces, conduct a test. This ensures that the product is safe for materials and decorative coatings.
- If you couldn’t remove all stains, try to vacuum and mop floors daily. Soon, there won’t be any visible traces of light dust.
Author: HardRockCleaning


